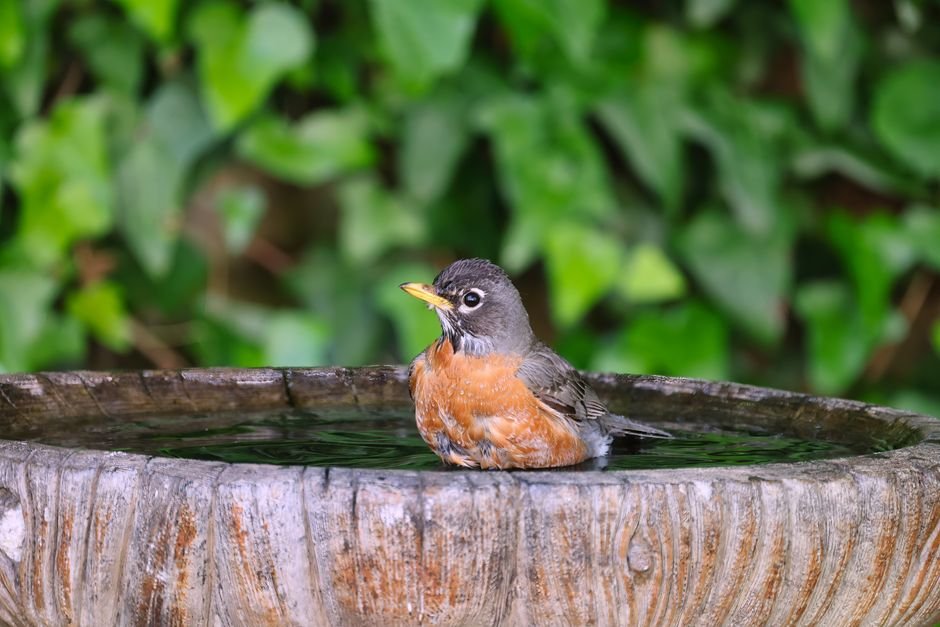
Over 70% of bird bath installations fail due to improper setup. Choosing the wrong location can result in the water becoming stagnant and muddy, deterring birds instead of attracting them. Many DIYers skip essential steps, leading to unnecessary expenses and frustration.
Choosing to enhance your garden with a bird bath can be a rewarding venture. Beyond its aesthetic appeal as a water feature, a freestanding bird bath creates a bird-friendly backyard by attracting a variety of feathered friends. However, the importance of correct installation cannot be overstated, as improper setup can negate its intended benefits.

Common Mistakes in Freestanding Bird Bath Installation
One of the most frequent mistakes I come across is ignoring the location. Many people instinctively choose a spot that looks appealing without considering the practicality of access for birds. An ideal spot is near foliage for shelter but not too secluded, or the birds may feel unsafe.
Aim for a location that is visible but also offers some nearby trees or shrubs where birds can perch when they feel threatened.
Another widespread issue is improper leveling. I have found that if the bird bath isn’t level, the water can easily spill out, leading to not only waste but also frustration. This problem often gets compounded by incorrect placement on uneven ground. Before installation, take the time to level the area. A couple of patio stones or a small level can work wonders here.
Choosing the Right Materials
Your freestanding bird bath materials matter more than you might think. Many opt for plastic because it is lightweight and affordable, but it often lacks the durability to withstand varying weather conditions. I would recommend ceramic or stone instead. These materials not only add a decorative touch but also provide better insulation against temperature changes, ensuring the water stays at a consistent temperature longer.
Additionally, consider the finish of your bird bath. A rough finish can help birds get a good grip, reducing the risk of mishaps as they enter and exit. Choosing a smooth surface may initially sound appealing but can lead to slips, which are detrimental to the birds’ safety.
Steps for Installing a Freestanding Bird Bath
The process of installation isn’t complicated, but it requires attention to detail. First, select your desired location, ensuring it’s flat, stabilized, and receives some sunlight to keep the water from freezing quickly. Secondly, if your bird bath has multiple pieces, assemble it according to the manufacturer’s instructions. Always double-check that everything is snug and secure.
Next, fill the bath with fresh, clean water. It’s wise to add a few pebbles or stones at the bottom. This not only provides traction for the birds but also helps to support the water feature itself, stabilizing it against wind or quick movements from curious birds.
Finally, regularly change the water every few days to keep it clean and appealing, remember, you’re looking to create a habitat!

Making the Most of Your Bird Bath
Now that you’ve installed your freestanding bird bath, it’s essential to think about how to enhance its effectiveness. One common mistake many make is just expecting birds to appear. Attracting feathered visitors entails more than simply placing a bird bath in the garden.
You can make your space even more inviting by adding bird feeders or a small shrubbery nearby, offering additional food sources and hiding spots for safety.
Consider using water additives that not only enhance the beauty of the water but also disinfect it, ensuring that it remains a safe and healthy space for your birds. It’s beneficial to keep an eye on the temperature as well, using water heaters during colder months may encourage winter visitors. And, during the summer, adding a gentle fountain feature can aerate the water.
Birds love moving water, making it more enticing.
Preventing Common Issues
Be aware that, like any feature, bird baths can present their own set of maintenance challenges. Algae growth is one of the most frequent issues I’ve encountered. To tackle this, scrub your bird bath regularly with a soft-bristle brush and a mild soap solution. Rinsing thoroughly after cleaning is essential to prevent any residue that could harm the birds.
Another problem is attracting unwanted guests, like mosquitoes. You might want to include a small fountain or water agitator to keep the water moving, deterring mosquitos from laying eggs. However, maintain the water depth at about two inches, as anything deeper can discourage birds from using the bath safely.
Final Verdict on Freestanding Bird Bath Installation
For those seeking a reliable solution, a concrete bird bath is the best option due to its durability and stability. If budget constraints are an issue, consider a resin model which still offers a good balance of quality and cost. Each choice enhances your garden while ensuring a welcoming environment for birds. For those interested in other freestanding bird bath installation options, you can find more details on different models available.
Frequently Asked Questions
How do you secure a freestanding bird bath?
To secure a freestanding bird bath, place it on a stable and level surface to prevent tipping. You can also use a few rocks or stabilizing materials at the base, ensuring it's anchored enough to withstand wind and prevent movement.
What is the best height for a bird bath?
The best height for a bird bath is typically between 24 to 36 inches, allowing birds to easily access the water while providing a comfortable vantage point. This height is ideal for most songbirds, but consider the bird species you wish to attract.
Can a bird bath be too deep?
Yes, a bird bath can be too deep, as deeper water may be intimidating for smaller birds. A depth of around 2 to 3 inches is usually ideal, allowing birds to drink and bathe safely without the risk of drowning.
Why aren't birds using my bird bath?
Birds may not be using your bird bath due to factors such as location, cleanliness, or depth of water. Ensure it's placed in a quiet area with some cover and that the water is fresh and shallow enough for easy access.
How to keep a bird bath from tipping over?
To prevent a bird bath from tipping over, choose a sturdy model designed for stability, and place it on a level surface. Additionally, you can use sand or gravel at the base for added weight and stability.