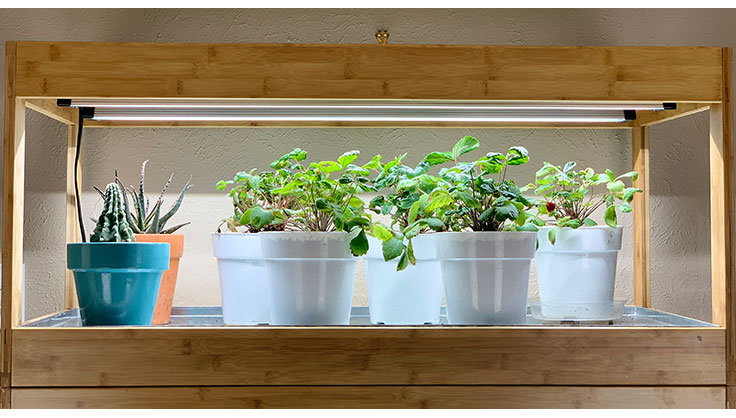
Indoor plants are the best way to liven up any room and get a touch of nature inside. However, without adequate light, indoor plants can struggle to thrive. That's where a DIY LED grow light comes in. It is affordable and allows you to customize the light spectrum to suit your plants' needs. This article will discuss making your DIY LED grow light for indoor plants.
Materials and Tools Required
To make a DIY LED grow light for indoor plants, you'll need the following materials:
- LED strip lights
- Aluminum channel
- Power supply
- Screws and nuts
- Wire connectors
- Electrical tape
- Light dimmer switch
And the following tools:
- Saw or cutting tool
- Screwdriver
- Wire strippers
- Soldering iron (optional)
Building the Frame
The frame is what holds the LED lights and provides support for the grow light. Follow these steps to build the structure:
- Cut the aluminum channel to the desired length using a saw or cutting tool.
- Drill holes into the aluminum channel for the LED lights to fit into.
- Screw the LED lights into place using screws and nuts.
- Attach the light dimmer switch to the aluminum channel using screws and nuts.
Wiring the LED Lights
Now that the frame is built, it's time to wire the LED lights. Follow these steps to wire the LED lights:
- Strip the ends of the LED lights and connect them to the wire connectors.
- Connect the wire connectors to the power supply, ensuring the positive and negative terminals are perfectly connected.
- Use electrical tape to secure the wire connectors and prevent any exposed wires.
Powering Up the LED Lights
Before powering up the LED lights, double-check that all the connections are safe and the wiring is correct. Follow these steps to power up the LED lights:
- Plug the supply of power into an electrical outlet.
- Please turn on the light dimmer switch and adjust it to the desired brightness.
Hanging the Grow Light
Now that the DIY LED grows light is complete, it's time to hang it above your indoor plants. Follow these steps to hang the grow light:
- Use a hanging kit to attach the grow light to the ceiling or wall.
- Modify the height of the grow light to ensure that it's at the proper distance from the plants. Generally, LED grow lights should be 6 to 12 inches above the plant.
Conclusion
Following these steps, you can make your DIY LED grow light for indoor plants. It is an affordable choice and allows you to customize the light spectrum to suit your plants' needs. Always take protection precautions when working with electrical components and double-check all connections before powering up the grow light. You can create a healthy and thriving indoor garden with some DIY know-how.


